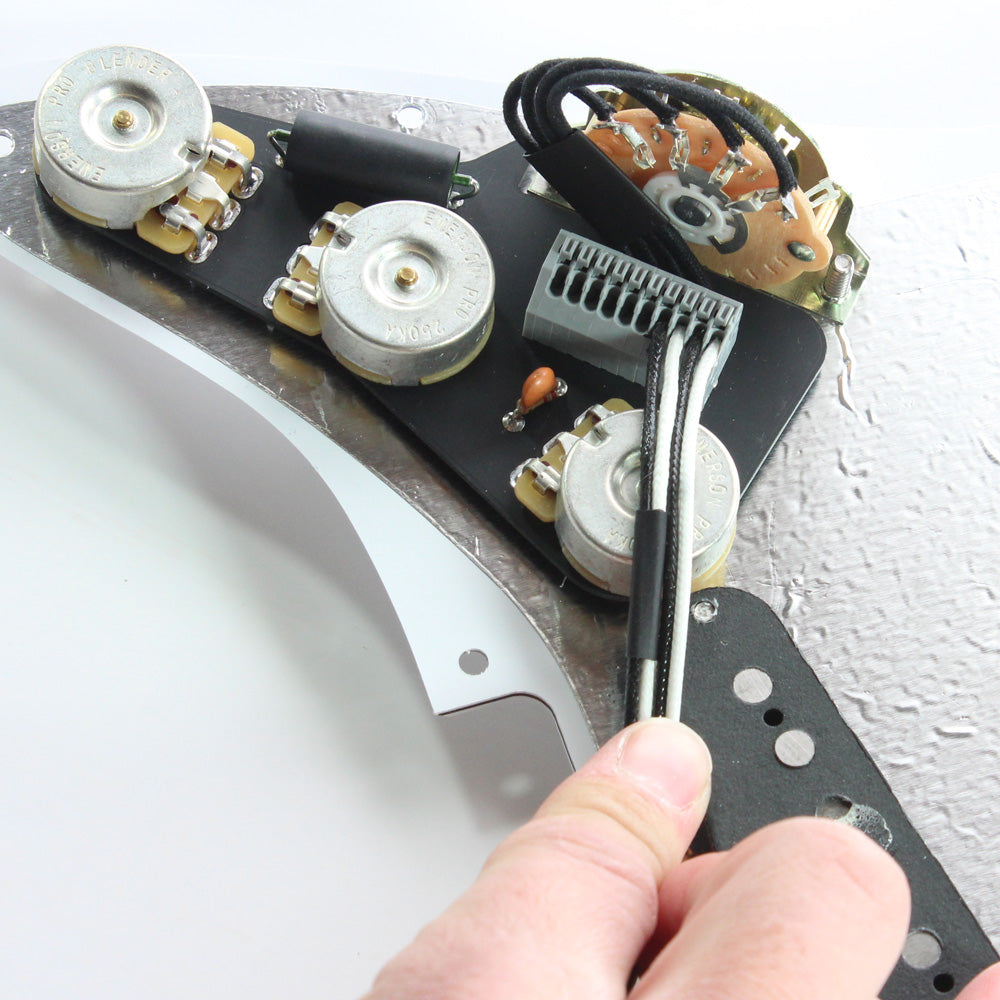
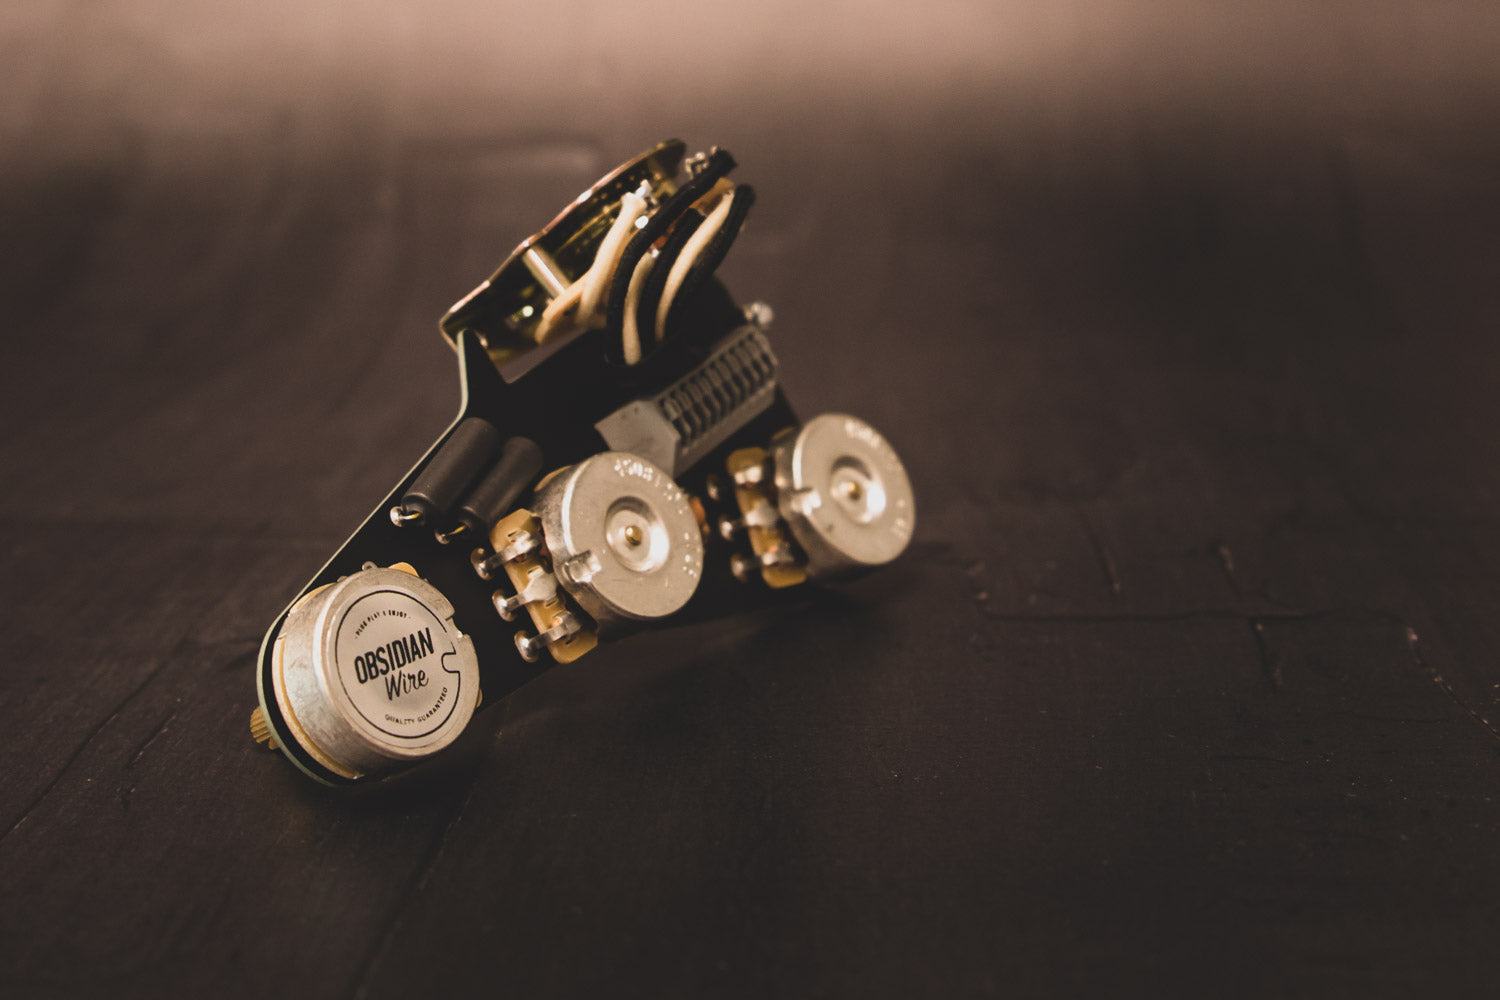
The Main Solder-Less Terminal
-
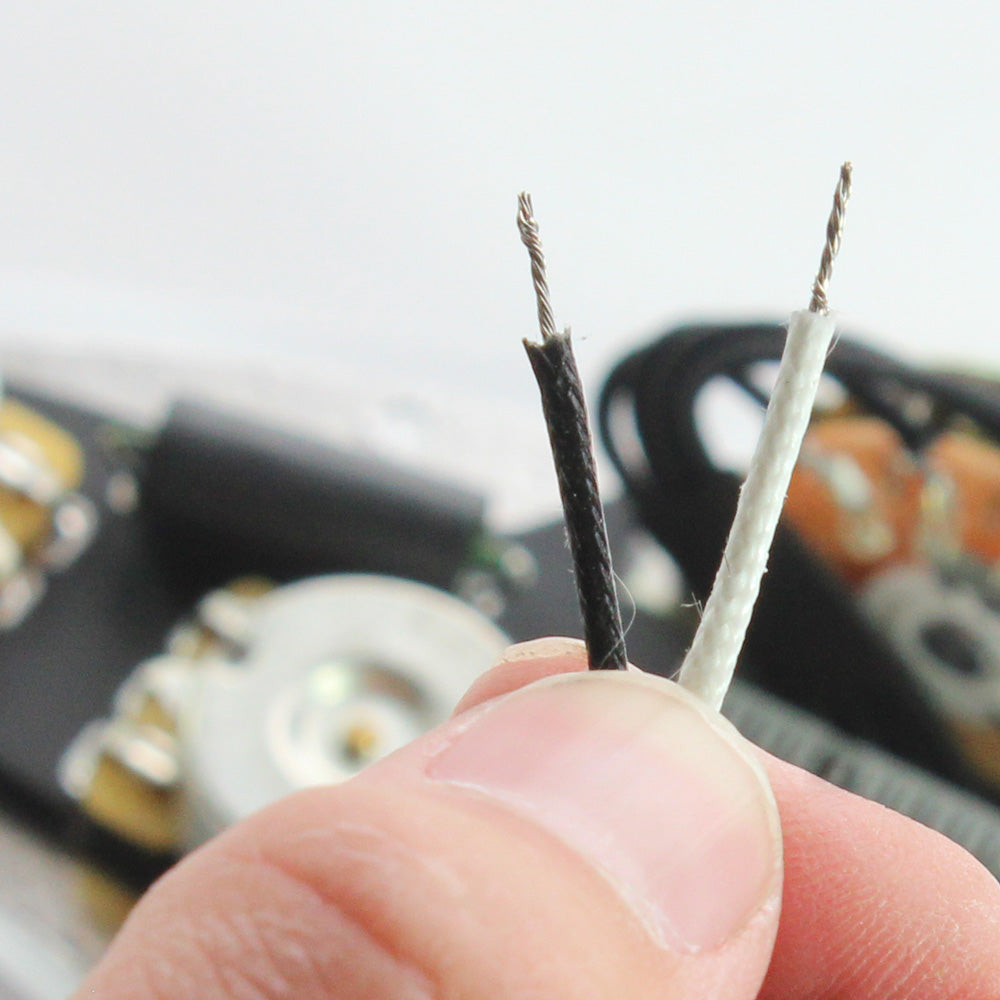
PREPARE THE TIP
- Cut back wire insulation to 6mm (1/4")
- Make this precise.
- If it is too short it will not hold well in the connector.
- If it is too long, it will create a weakness in the wire.
-
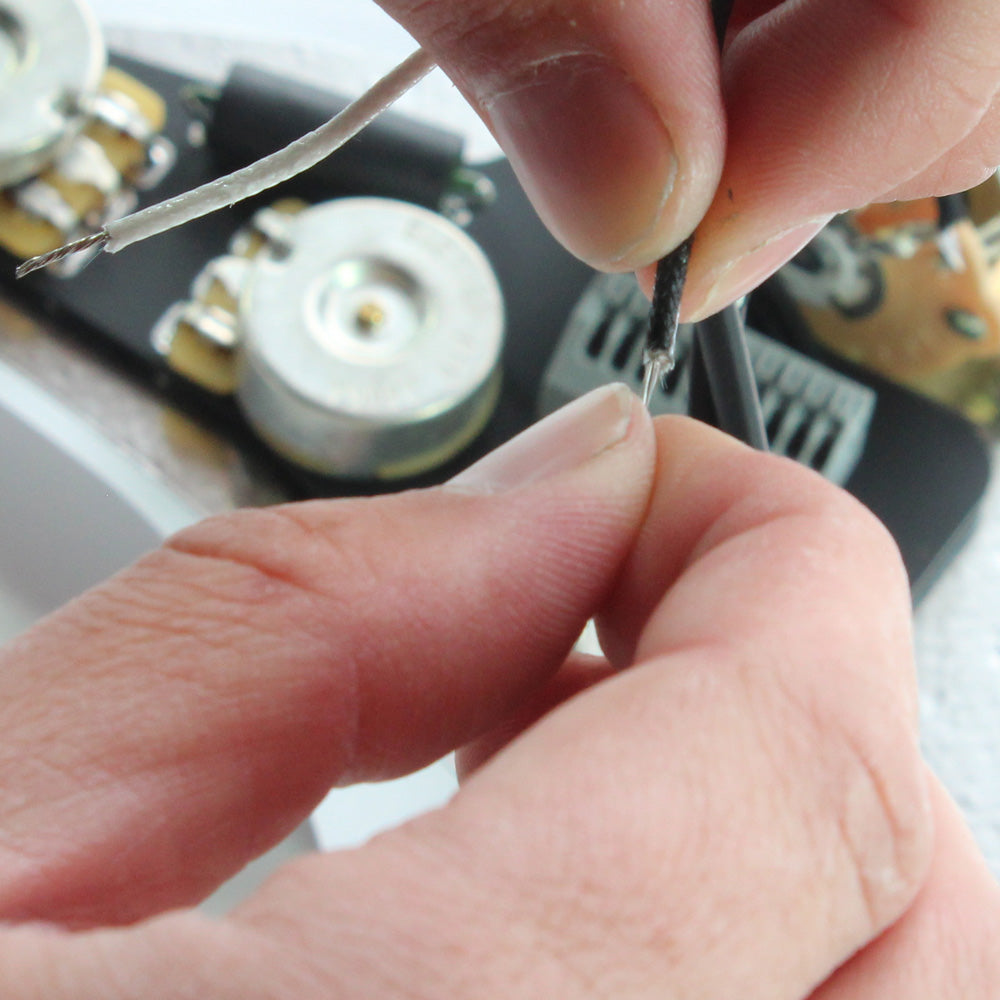
TWIST STRANDS TOGETHER
- Create a firm tip by twisting the loose strands together between your fingers.
- The connector is made to fit a range of sizes.
- Smaller wires such as those used by Seymour Duncan, all the way through to larger wires like these will work fine.
-
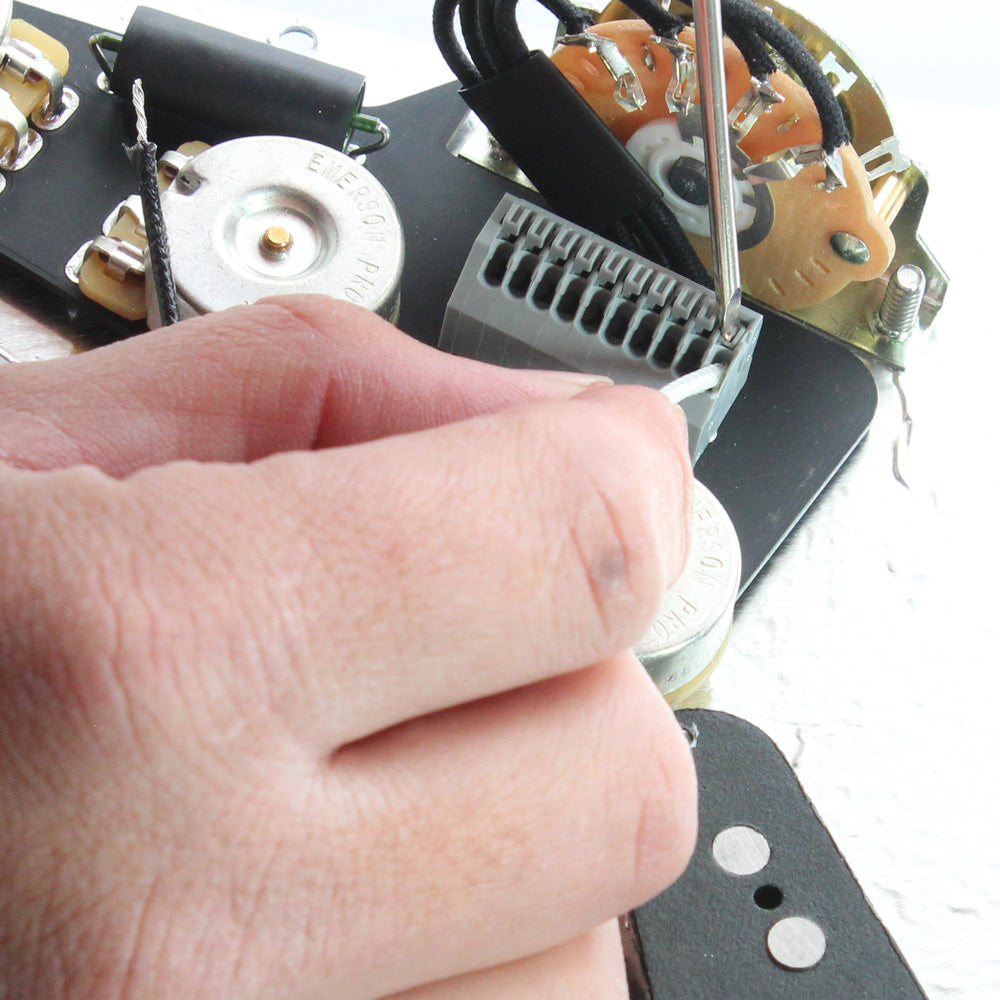
PRESS & HOLD BUTTON
- Use a fine tip screw driver to press in the button above the wire slot.
- This opens the internal connector ready to accept the wire.
- Hold the button in for the next step.
-
INSERT WIRE AT 45° ANGLE
- Insert the wire at a 45° Angle
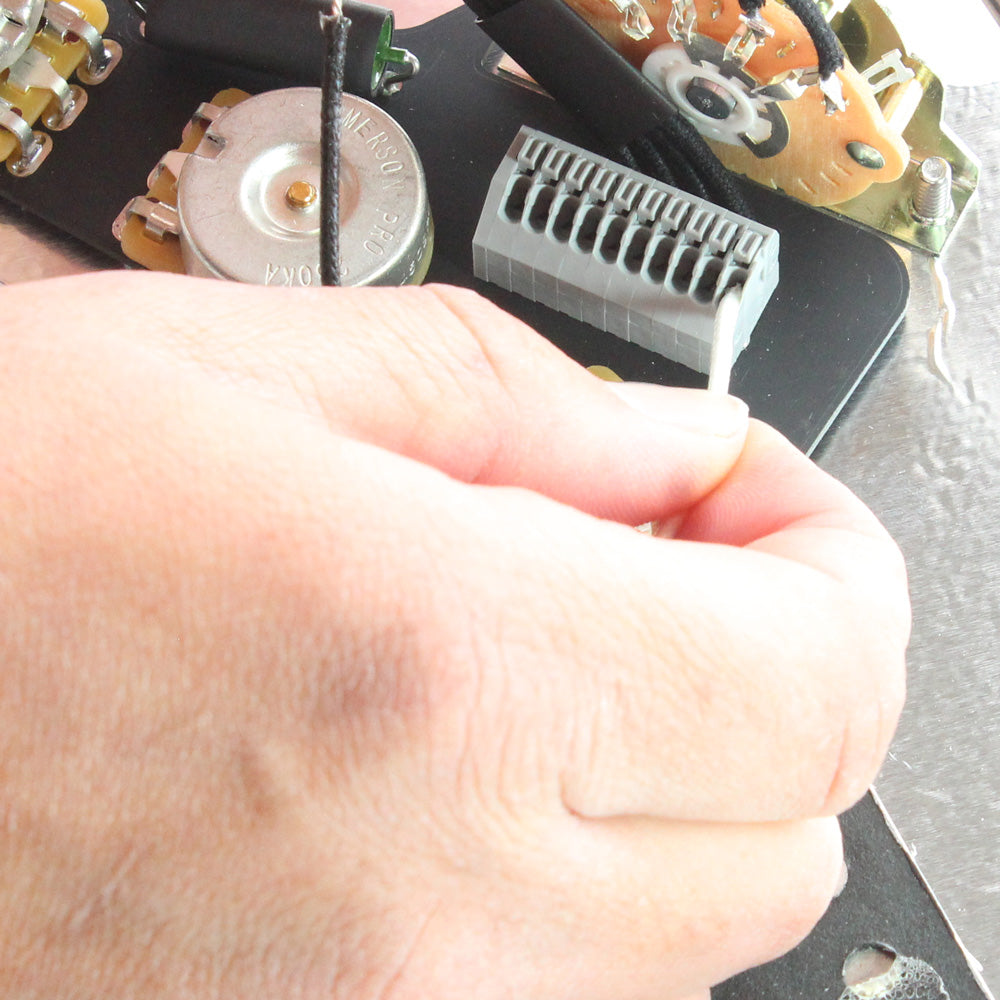
- While still holding the button, insert the wire all the way up to the base of the insulation.
- Once the wire is in, you can release the button which will hold the wire firmly.
-
TEST AS YOU GO
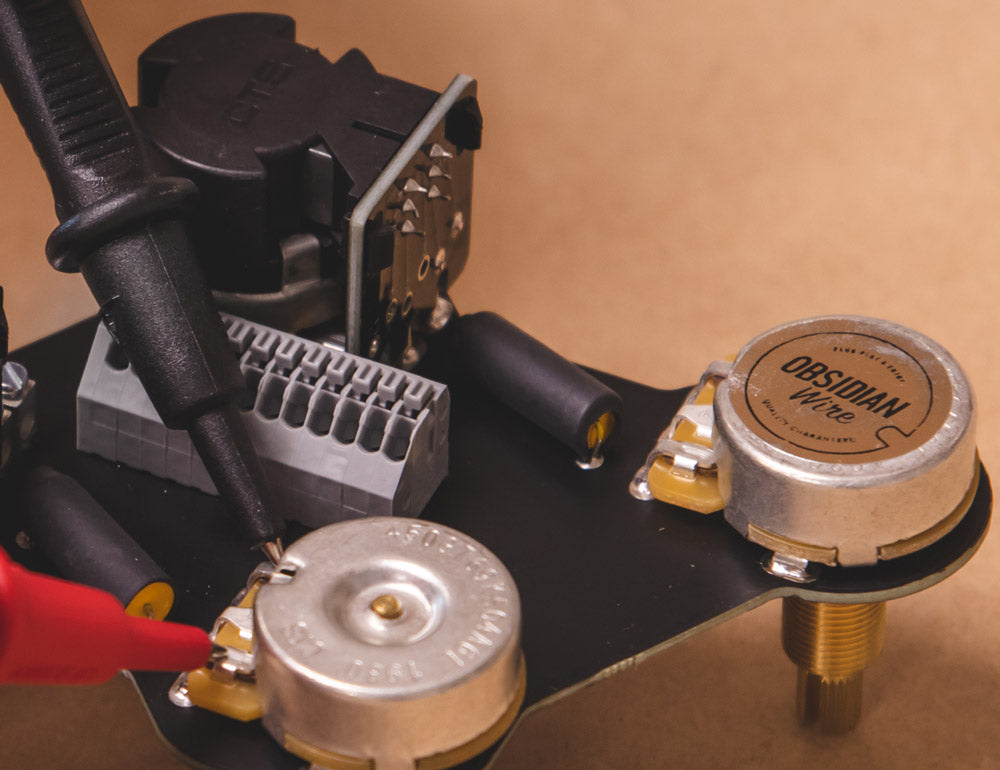
- Test each wire for a firm connection as you go.
- If a wire pops out easily, re-check each step above and try again.
-
KEEP IT CLEAN
- Take your time and be precise.
- Each connection should be clean, with no visible bare wire left out of the connector.

A Guide To
Removing Wires
To remove wires we have to press in the button above each wire, as you pull it out.
- Press and hold button above the wire slot
- Gently pull the wire free
- Repeat this for each wire you would like to remove
Note: NEVER pull hard on the wires. If the wire breaks inside your harness, the slot may not work again.

A Guide To
Using The Spare Ground Posts
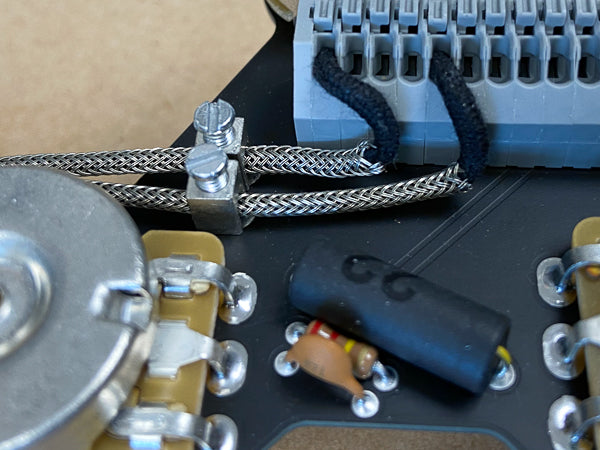
- Open the post by backing out the top screw
- Feed the bare section of wire(s) into the post
- Screw down (firm but not tight) on top for a secure connection.
Note: These are also useful for braided wire, where the entire braided section can be fed through the post.
More Help?
-
Trouble Shooting
Click Here -
Pickup Wire Color Codes
Click Here -
Info Hub
Click Here